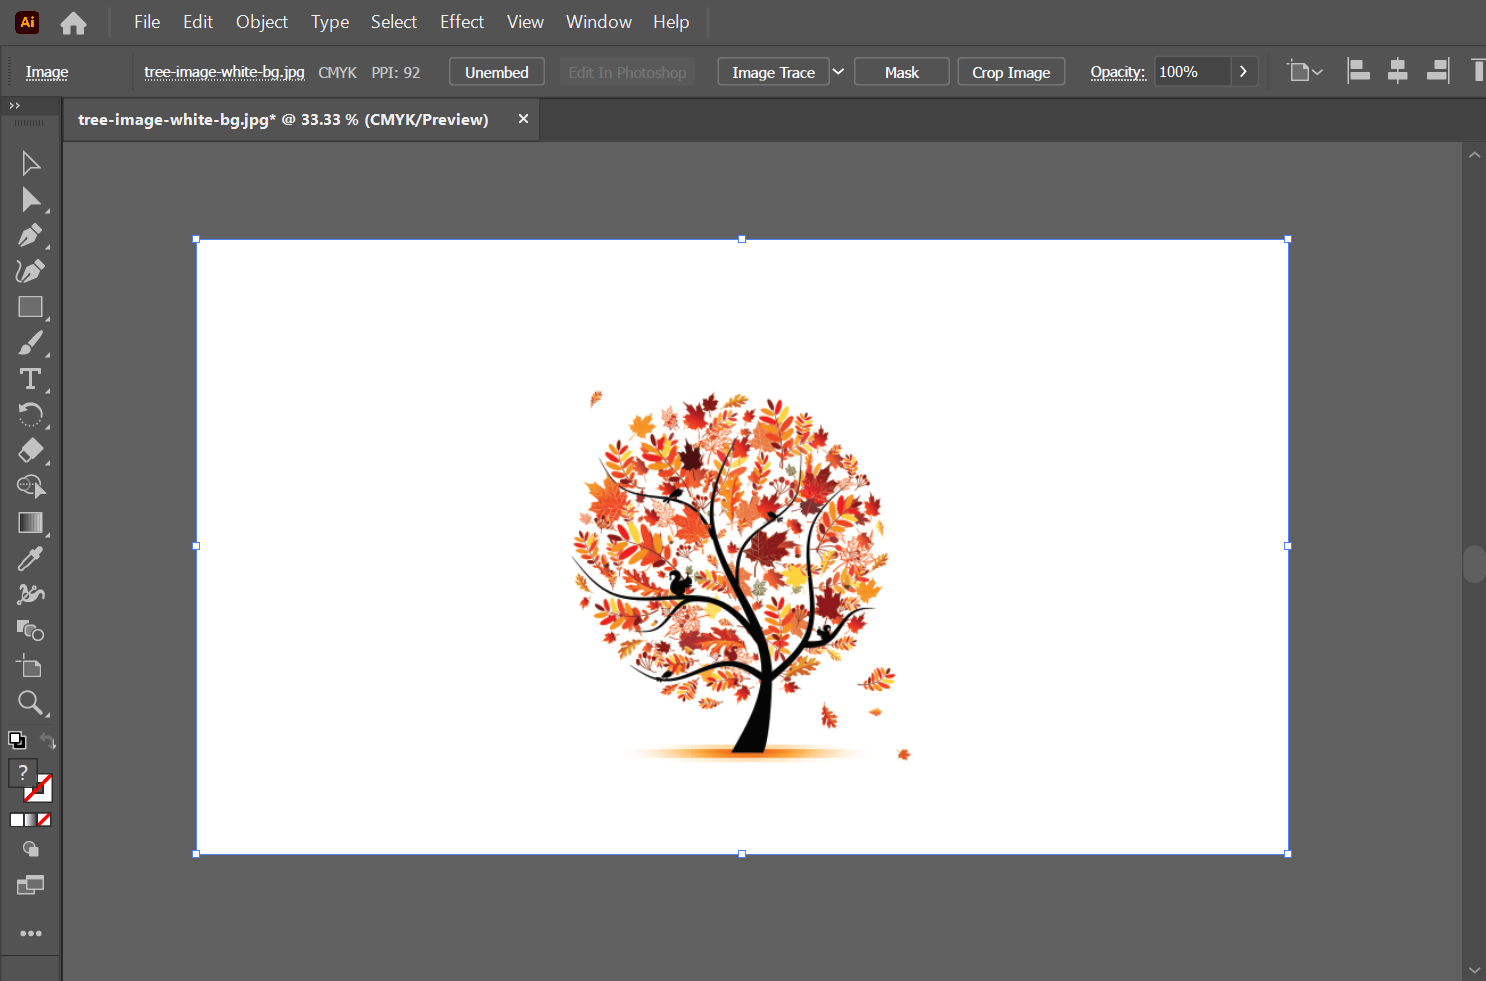
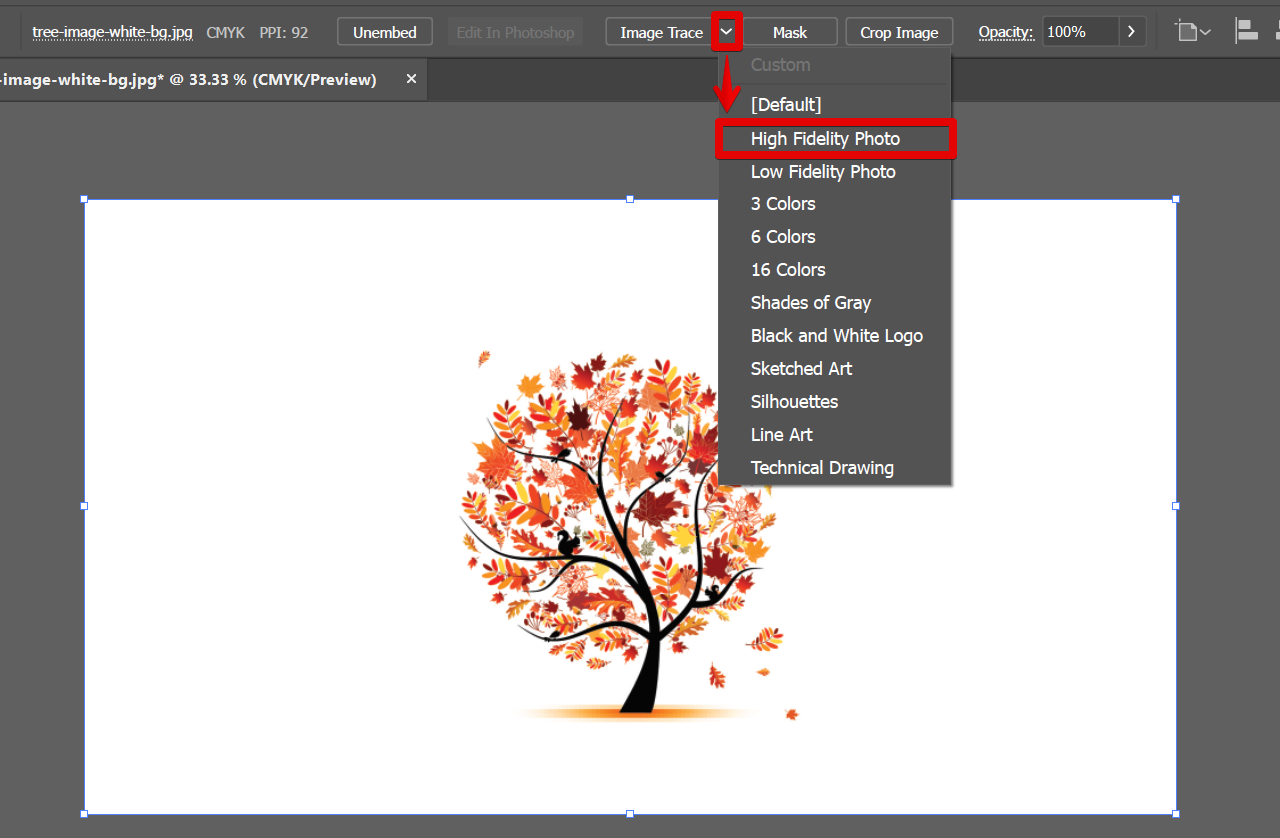
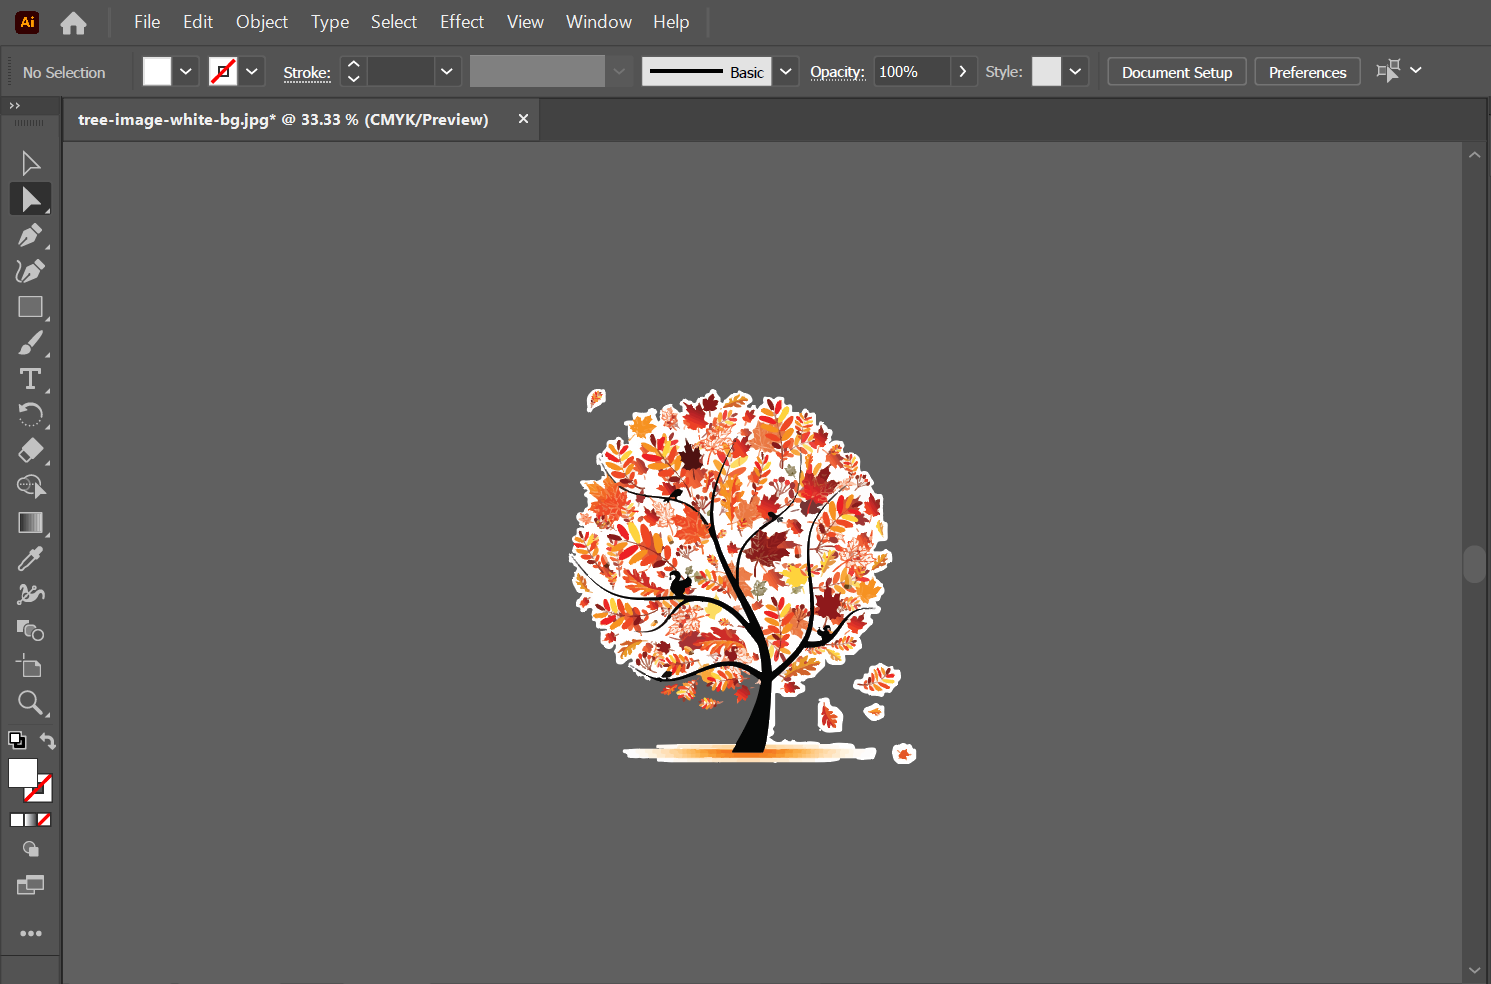
The background of an image is usually removed to isolate the main subject or object in the image in order to produce a transparent or new background. This gives more creative design, image editing, and visual presentation options.
Your photo’s background will immediately become transparent when the backdrop is removed. Your newly altered image will be in the PNG file format, which will allow you to set it on whatever background you choose.
Adobe Illustrator is among the most popular drawing program today. For individuals who enjoy creating graphics, this vector-based tool is undoubtedly an essential software. It is a professional vector-based design and drawing tool which can be used to perform the task of removing white background from images.
Most of the time, you’ll need to modify or eliminate the background of a picture. The built-in background remover in Adobe Illustrator allows you to quickly and easily remove logos and white backgrounds without wasting time and effort.
Techniques to Use
Adobe Illustrator is not commonly used for editing and manipulating photos. Nonetheless, there are two techniques you may use in Illustrator to remove the backdrop from an image. We may use some options in Adobe Illustrator to get rid of the background.
To perform the removal, you can use the Pen or Magic Wand tool. We will use the Pen and Magic Wand tools to demonstrate two different approaches to background removal.
How to Use the Illustrator Pen Tool to Remove White Background
- To begin, drag the image to the clipboard. Draw a suitable shape enclosing the part of the image you don’t want to remove.

- Choose the “Pen” Tool from the program’s toolbar. Click to draw an outline; each click will generate one anchor point. To create a design, click close to the edge of the image and continue until you reach the first anchor point.

- To view all of the image, click the “Select” Tool. An outline will be set and placed around the newly selected image and the background. While holding down the Shift key, click the picture again while clicking the backdrop.

- Right-click on the image and Choose “Make a Clipping Mask” from the menu. After that, your photo’s background will become transparent.
How to Use Illustrator’s Magic Wand Tool to Remove an Image’s Background
- Choose the “Magic Wand” Tool from the program’s toolbar. Click on the part of the picture you want to save. Click the subject image once more, and a dotted outline will then show around the image.
- Pick the image and background, hit the Shift key, and then click the background. Make a Clipping Mask by right-clicking on the picture and selecting it.
- The background will be removed, leaving the subject image and a transparent background.
This is how to use Illustrator to remove the background from an image. In addition, once the backdrop has been eliminated, you can then resize the image from within Illustrator.
In summary
The best approach for removing backgrounds in Adobe Illustrator has been provided in this article. These tried-and-true techniques will assist you in editing your images to meet your unique requirements. These are the simplest, most direct procedures to make your images transparent and save your image files in whatever format you wish.
